
The Free Propagation Method That Keeps Giving
There is a moment every gardener reaches when they stop buying inputs and start growing their own systems.
Comfrey is usually where that shift begins.
Not because it is complicated. Because it is the opposite. Once you understand how this plant works, how deep its roots reach, how freely it gives, and how little it asks in return, you start seeing your garden differently. You stop looking for what to add and start noticing what is already there, waiting to be multiplied.
Root cutting propagation is one of the oldest and most reliable methods in the permaculture toolkit. No seeds, no nursery runs, no cost. Just a small section of root, the right conditions, and a few weeks of patience.
This is exactly how to do it.
Why Comfrey Root Cuttings Work Better Than Seeds
Most gardeners reach for seeds first. It is the familiar path.
But comfrey seeds have variable germination rates and the seedlings are slow to establish. Root cuttings bypass all of that. They already carry the full genetic energy of the parent plant, the established mineral pathways, the cellular memory of deep growth.
A root cutting does not need to figure out what it is. It already knows.
Even a small section of root with no leaves attached will initiate new growth. This is because comfrey stores carbohydrate reserves in its root tissue, giving new cuttings everything they need to push growth upward before photosynthesis even begins.
This is the same reason established comfrey recovers so quickly after harvesting. The root is the engine. The leaves are just the output.
How to Take a Root Cutting Without Harming the Parent Plant
You will need an established comfrey plant that has been in the ground for at least one full growing season.
Work around the outer edge of the plant rather than the crown. The crown is where new growth initiates and disturbing it unnecessarily sets the plant back. The lateral roots spreading outward from the crown are what you are after.
Use a garden fork rather than a spade. A fork lifts and loosens without severing roots cleanly, which gives you more control over what you remove and what you leave behind.
Expose a section of lateral root and look for pieces that are firm and healthy. Avoid any root material that is soft, hollow, or showing signs of rot.
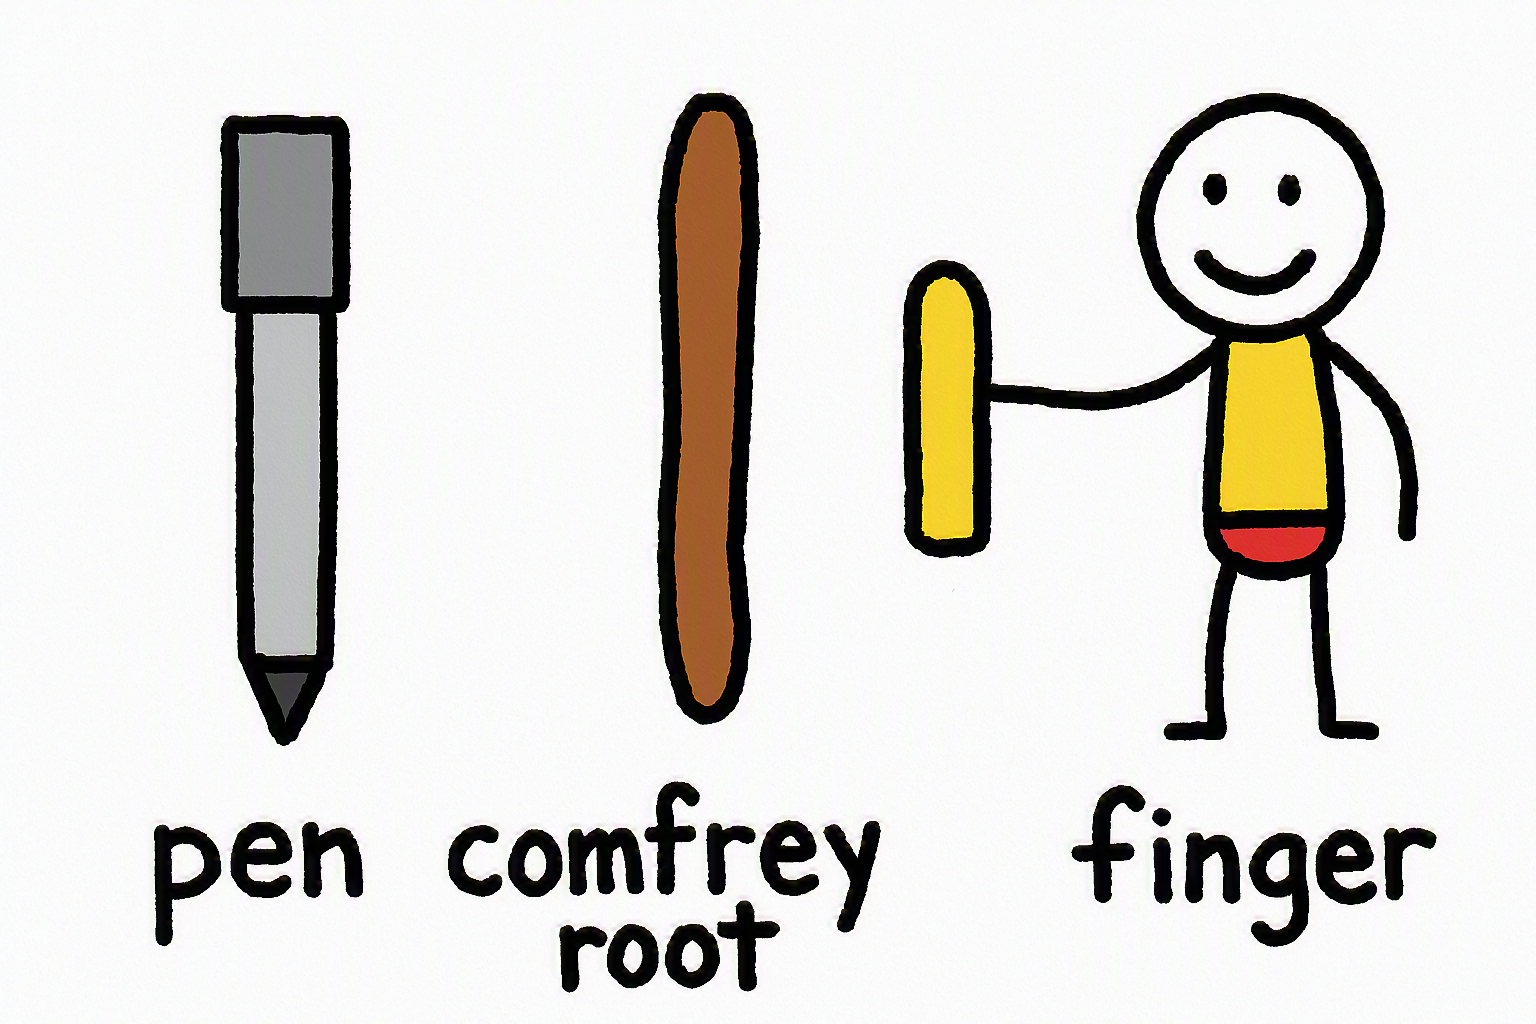
Section the root into pieces between five and eight centimeters long. Thicker root sections tend to establish faster but even thinner pieces will root successfully given the right conditions.
The parent plant will not notice. Comfrey regenerates from root fragments so readily that even the disturbed soil around a harvested root will sometimes throw up new shoots on its own.
The Right Conditions for Planting Comfrey Root Cuttings
Comfrey is forgiving but it does have preferences.
Position
Full sun to semi shade. Comfrey tolerates lower light better than most productive plants, which makes it useful for the edges of food forests and the dappled shade beneath fruit trees. In full shade it will still grow but mineral accumulation will be slower.
Soil
Deep, well structured soil gives comfrey room to do what it does best. Its roots can reach between one and two metres into the subsoil, accessing mineral reserves that shallow rooted annual crops cannot touch. This is the core of its value as a dynamic accumulator.
Avoid waterlogged ground. Comfrey roots are fleshy and will rot in consistently saturated soil. If drainage is poor, raise the planting area slightly or choose a position on a natural slope.
Spacing
Plant root cuttings sixty to ninety centimetres apart if you are establishing a comfrey bed. This gives each plant room to develop its full canopy without crowding, and enough access for harvesting without trampling neighbouring plants.

Planting and Establishment. What to Expect Week by Week
Plant the root sections horizontally or at a slight angle, five to eight centimetres below the soil surface. Cover firmly and water in well to close any air pockets around the root.
From here, patience is the main ingredient.
Weeks one and two Nothing visible above ground. Below the surface the root is building callus tissue and initiating new meristematic cells. Do not be tempted to dig it up to check. Leave it alone.
Weeks two to four Small tightly folded leaves will begin pushing through the soil surface. They often appear darker than mature comfrey leaves and slightly waxy. This is normal.
Weeks four to eight Growth accelerates rapidly. The roots is beginning its downward journey and the plant is establishing the vascular pathways it will use for the rest of its life.
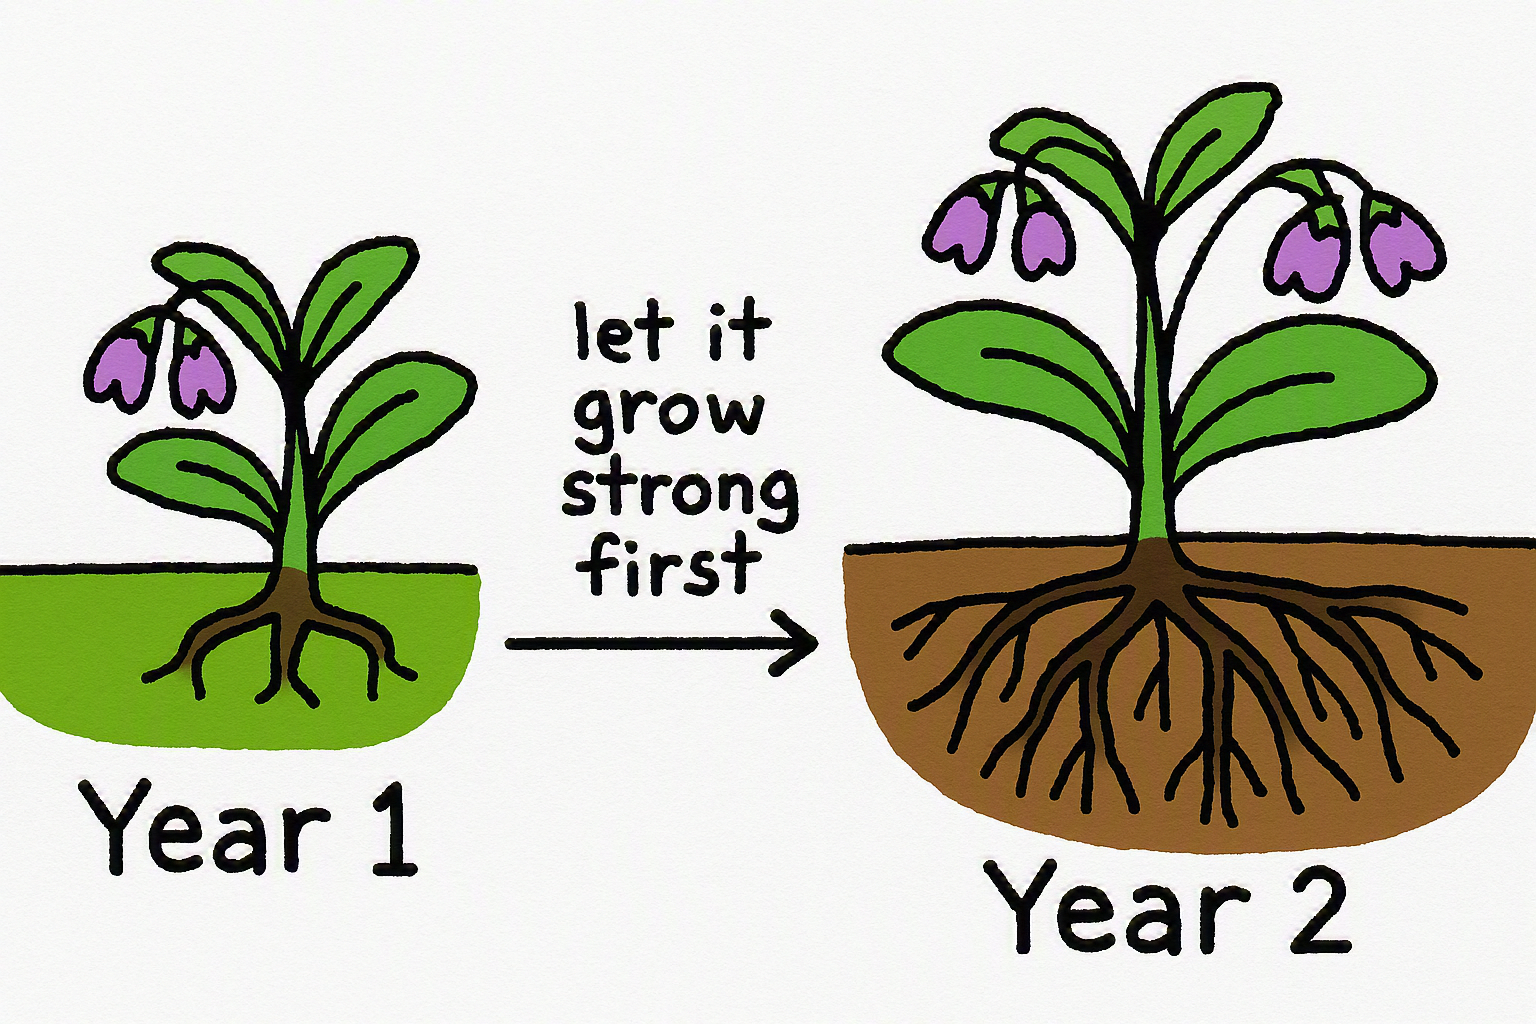
Do not harvest in the first year. This is the most common mistake new comfrey growers make.
The first year is entirely about root development. Every leaf the plant produces is feeding energy back into that root system. Harvesting too early pulls energy away from the root before it has reached its productive depth, and you end up with a plant that never quite fulfills its potential.
Let it grow. Watch it. Learn its seasonal rhythm. Harvest leaves that start to turn brown and use them as chop and drop mulch, in a liquid comfrey tea/fertiliser or add them to your compost pile.
From the second year onwards you can begin harvesting three to four times per season, cutting down to around five centimetres above the crown each time. The plant will recover within three to four weeks and come back stronger each season.
How One Plant Becomes more
This is where comfrey stops being a single plant and starts being a system.
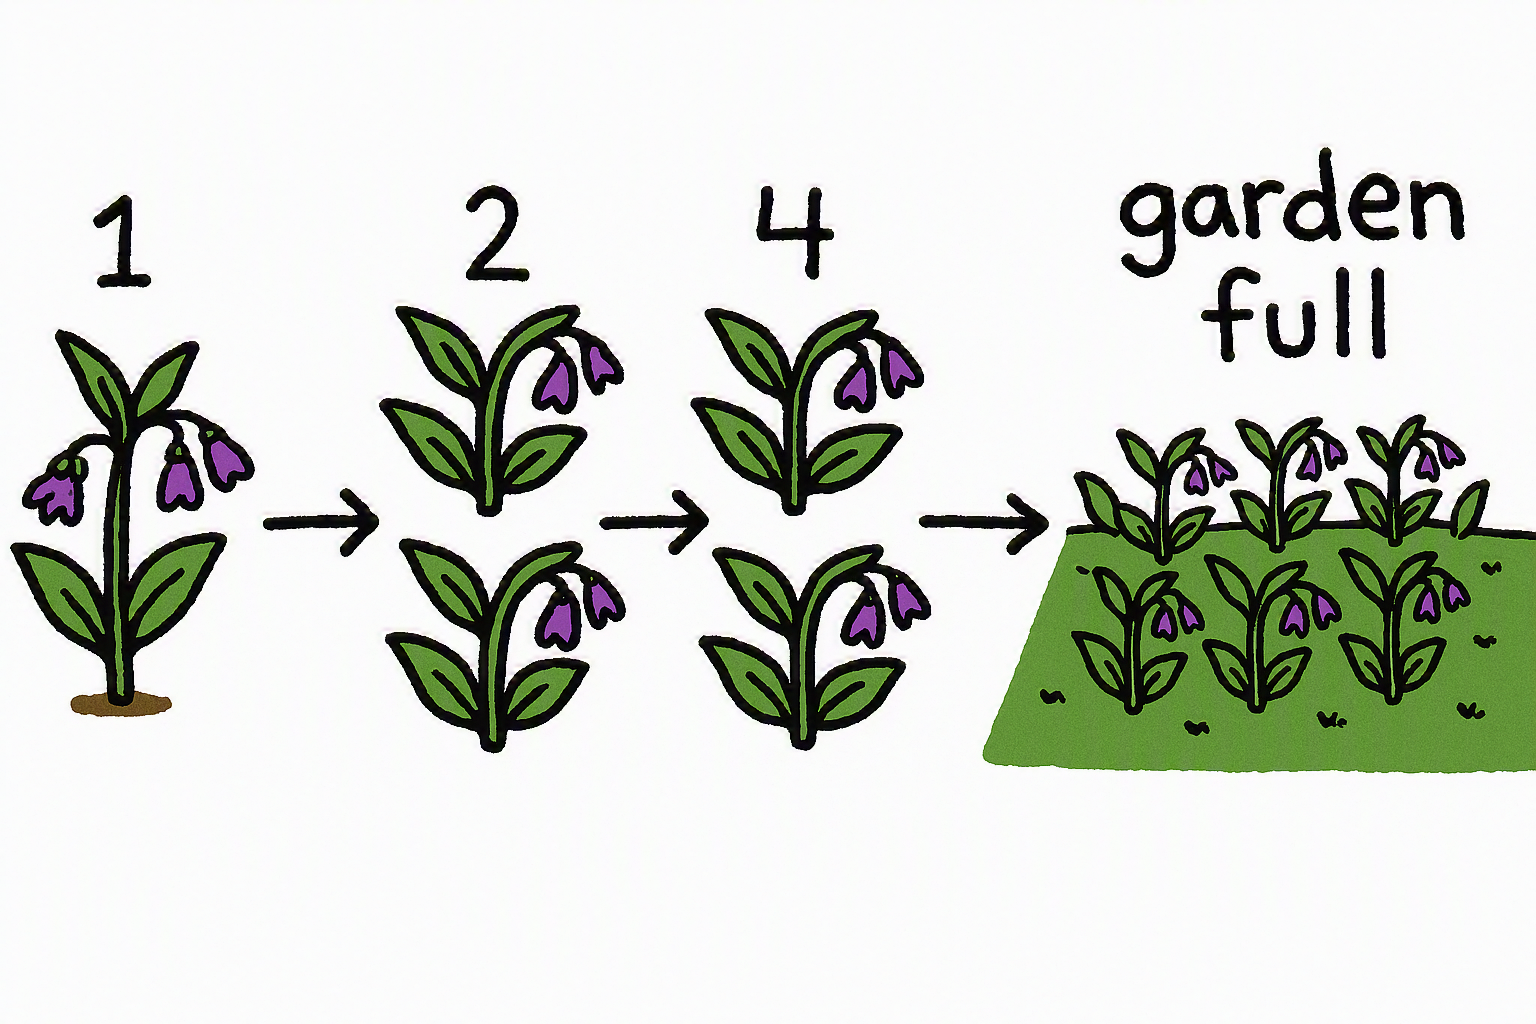
Every time you harvest, every time you divide a mature plant, every time a root fragment is left in disturbed soil, you have the potential for a new plant. Comfrey spreads on its own terms and on your terms if you work with it intentionally.
A single established plant can yield enough root material to propagate eight to twelve new plants per division. Those plants, established and divided the following season, can fill an entire food forest understory or provide permanent green manure beds for a market garden.
The economics of this are significant. Compare the cost of buying twelve comfrey plants from a nursery against the cost of taking root cuttings from one plant you already have. Then multiply that across three seasons.
This is what regenerative gardening actually looks like in practice. Not a single intervention but a compounding system that builds value over time without requiring more input.
Using Your Comfrey Once It Is Established
Once your plants are into their second year and harvesting regularly, you have several options for how to use them.
The most immediate is chop and drop, laying the harvested leaves directly onto the soil surface around other plants as a mineral rich mulch. As the leaves break down they release potassium, calcium, phosphorus, magnesium, and a range of trace elements back into the root zone.
For a more concentrated feed, the leaves can be brewed into comfrey liquid fertiliser, a potassium rich liquid that rivals commercial tomato feeds and costs nothing beyond the time it takes to make.
Comfrey also functions as a powerful compost activator. Adding a layer of leaves between carbon heavy material in a compost heap accelerates breakdown and enriches the finished compost with the same mineral profile the plant accumulates from the subsoil.
A garden with established comfrey in multiple positions has a built in fertility system that runs continuously, season after season, without external inputs.
The Plant That Keeps Giving
There is something quietly profound about a plant that regenerates from a fragment.
You do not need to coddle comfrey. You do not need to feed it, treat it, or replace it. You just need to give it the right conditions once and then work with what it offers.
That first root cutting, smaller than your finger, carries everything the plant needs to establish itself, grow deep, and begin giving back. Within two seasons it will be one of the most productive plants in your garden.
Plant it once. It will keep showing up.